These textured stone shapes are giving us major earth vibes. The colors alone will complete your room decor.
These textured stone shapes are giving us major earth vibes. The colors alone will complete your room decor.
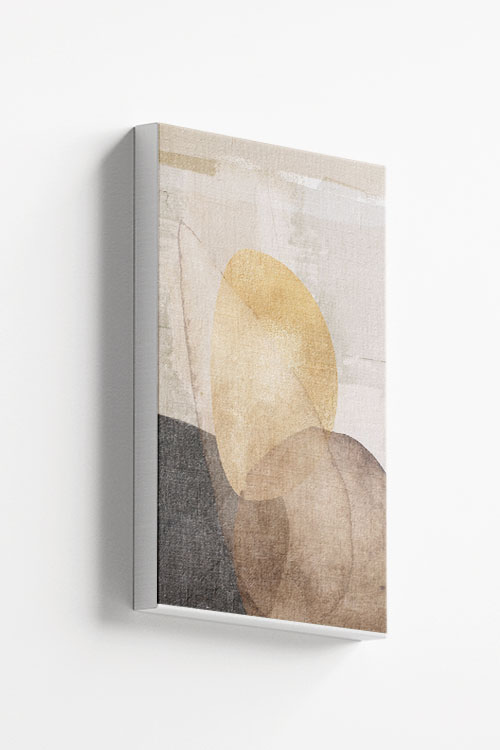
These textured stone shapes are giving us major earth vibes. The colors alone will complete your room decor.
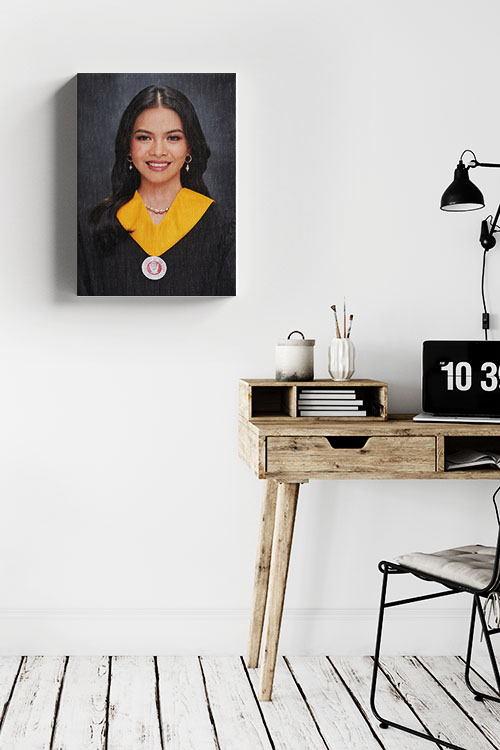
Creating personalized graduation posters for your loved ones is a beautiful way to celebrate their achievements and show pride. Here are some ideas and steps to help you create memorable and meaningful graduation posters.
Creating a personalized graduation poster uniquely honors your loved one’s hard work and celebrates their accomplishments. It serves as a lasting memento of this significant milestone in their life.
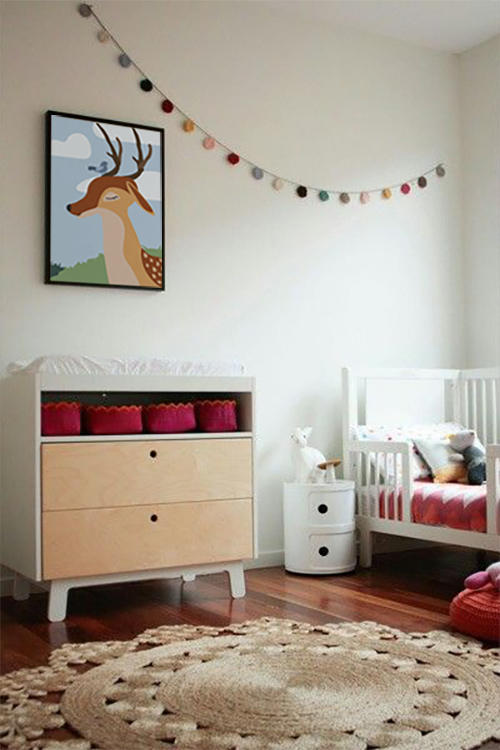
Customizing your nursery walls with personalized prints is a fantastic way to add a unique and meaningful touch. Here are some ideas and steps to help you get started.
Personalized prints enhance the nursery’s visual appeal and create a meaningful and memorable space for your baby to grow.
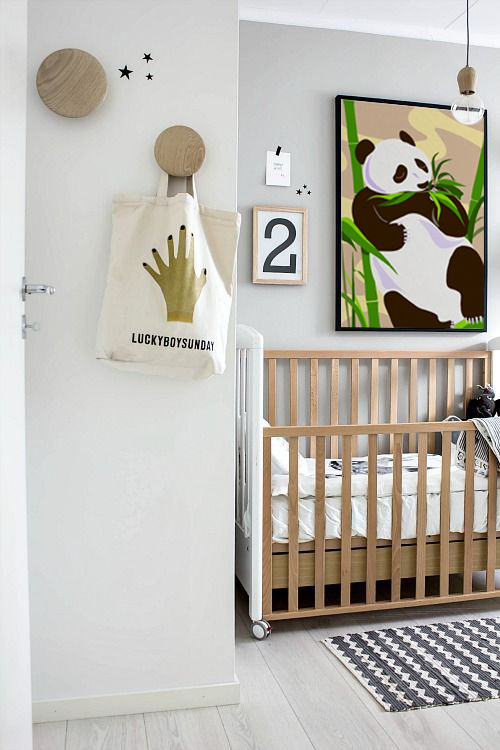
Decorating the walls of a nursery can be a fun and creative process. Here are some ideas to make the nursery walls both beautiful and stimulating for your baby:
Remember to ensure that all decorations are securely fastened and safe, avoiding anything heavy that could fall or small parts that could pose a choking hazard. Enjoy the process of creating a unique space for your little one!
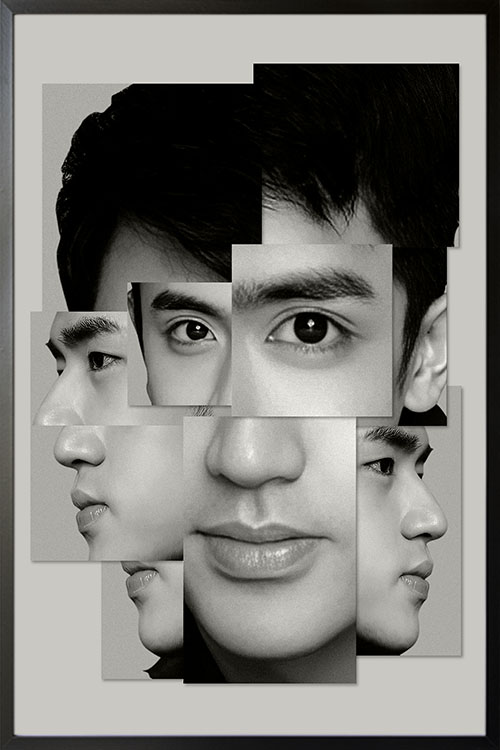
Personalized posters have several appealing qualities that make them unique.
Personalized posters are tailored to individual preferences, making them unique. You can choose images, text, colors, and designs that resonate with your taste or the recipient’s interests, ensuring the final product is one-of-a-kind.
Personalized posters are not just decorative items; they are emotional connections. They can commemorate special occasions, milestones, or cherished memories, making them meaningful keepsakes. For example, a poster featuring a favorite quote, a significant date, or a memorable photo can evoke emotions and memories.
Because they are customized, personalized posters make thoughtful and memorable gifts. They show that you’ve put thought and effort into creating something specifically for the recipient, whether for birthdays, anniversaries, weddings, or other celebrations.
Designing a personalized poster allows for creative expression. You can experiment with different artistic elements to create a piece that reflects your style or the message you want to convey. This can be a fun and fulfilling process.
Personalized posters can enhance a space’s aesthetic. They can be designed to match the décor of a room, adding a personal touch to home or office environments. Whether it’s a motivational quote for an office or a family portrait for the living room, these posters contribute to the ambiance.
Personalized posters are not limited to one use. They can be used for personal enjoyment, gifts, or business purposes such as promotional materials, event announcements, or branding. Their versatility empowers you to use them in different contexts and audiences, inspiring creativity and innovation.
These posters are more memorable and impactful than generic ones because they are personalized. They capture specific themes or messages that resonate more deeply with the viewer, making a lasting impression.
Overall, personalized posters are great because they combine artistic creativity with personal significance, resulting in a unique, meaningful, and visually appealing product.
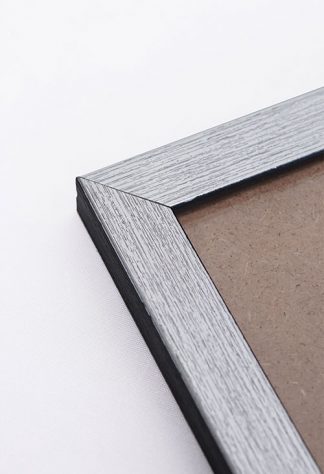
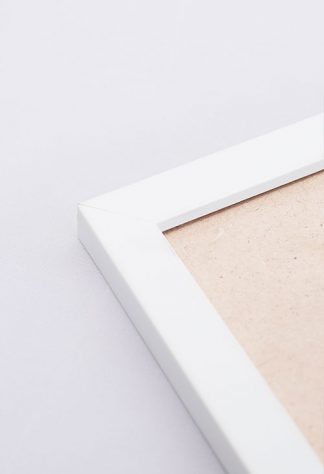
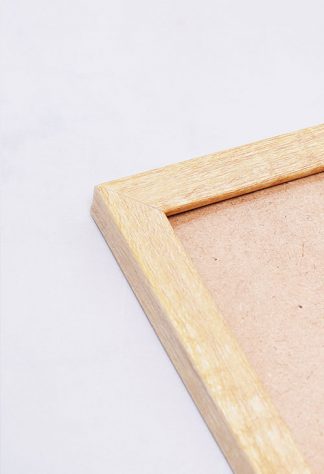
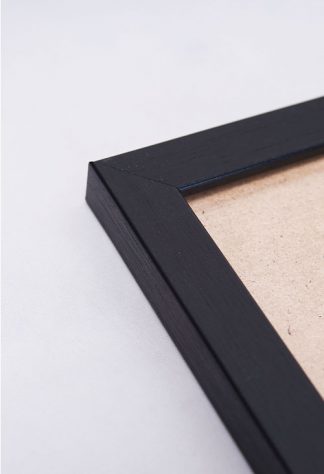
Get your personalized prints now! Visit artdesign.ph for more personalized art.
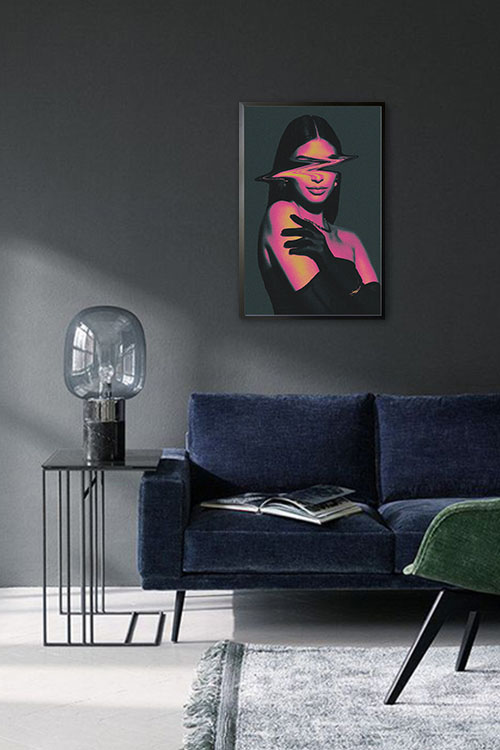
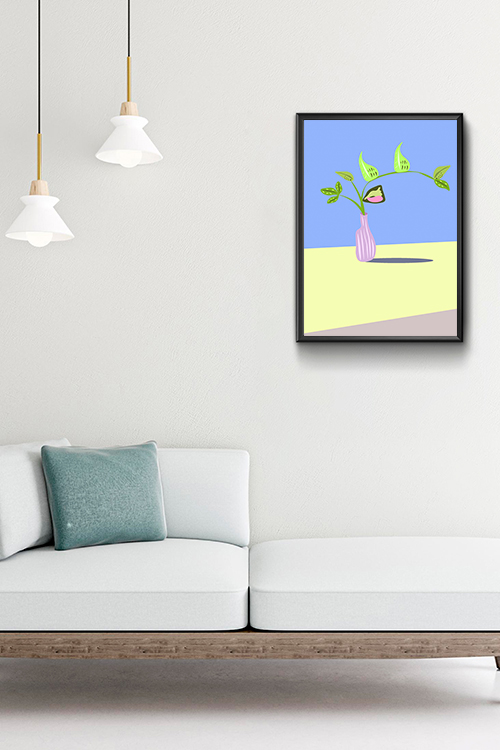
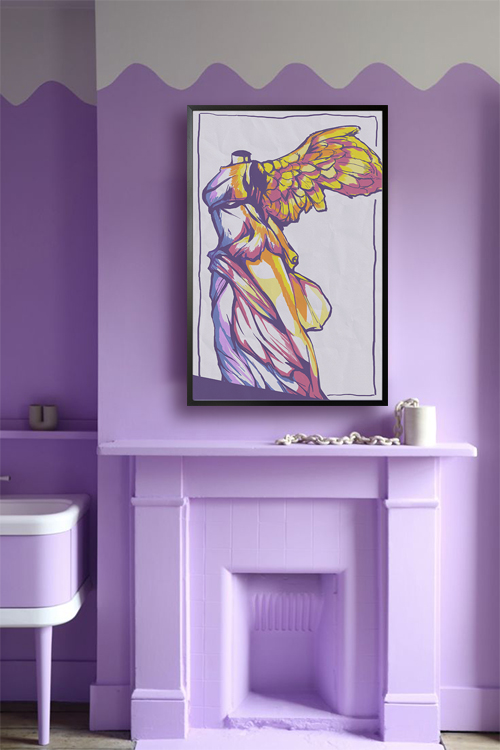
Designing beautiful walls with posters from artdesign.ph can transform your space into a vibrant, stylish area. Here are some tips for creating stunning wall displays:
By following these tips, you can create beautiful walls adorned with artdesign.ph posters that enhance the aesthetics of your space.
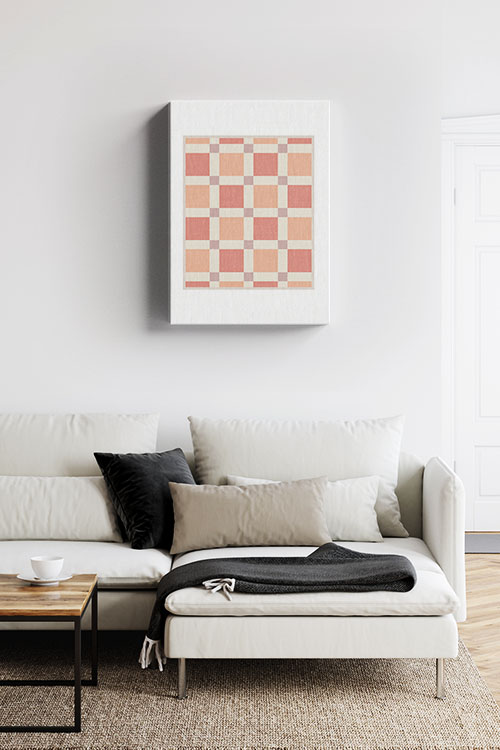
Redesigning your living room can be exciting but requires thoughtful planning to achieve a functional and aesthetically pleasing space. Here are some essential questions to ask yourself before diving into a living room redesign:
By carefully considering these questions, you can create a living room design that is both beautiful and tailored to your specific needs and lifestyle.
Decorating your home is fun for various reasons, bringing joy, creativity, and satisfaction. Here are some key reasons why people find home decorating enjoyable:
Overall, decorating your home combines creativity, practicality, and personal satisfaction, making it fun and fulfilling.
Upgrading your home doesn’t have to be a daunting or expensive task. Here are some easy and budget-friendly ways to upgrade your home this year:
Focusing on these easy and manageable projects can help you significantly improve your home without a major investment of time or money. These upgrades can enhance the functionality and aesthetic appeal of your living space.