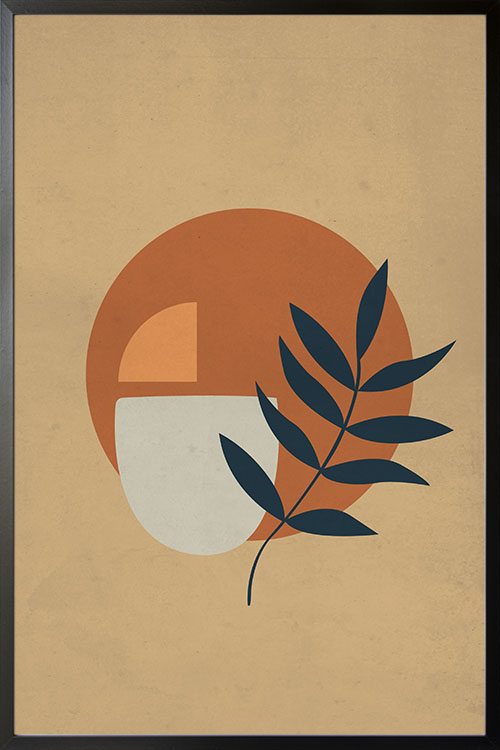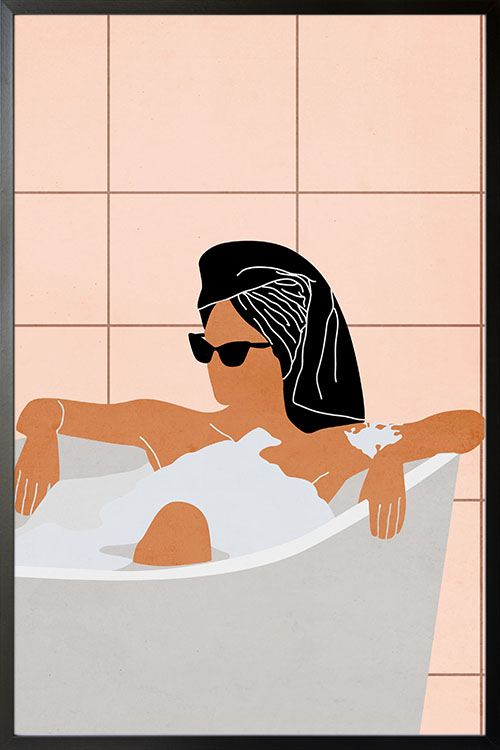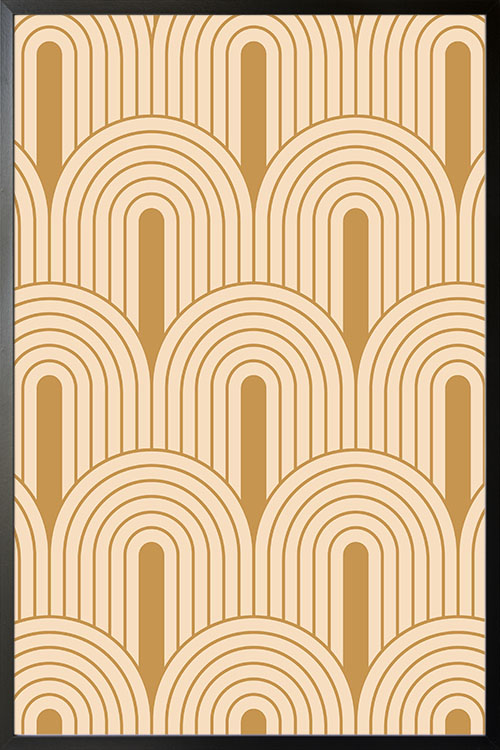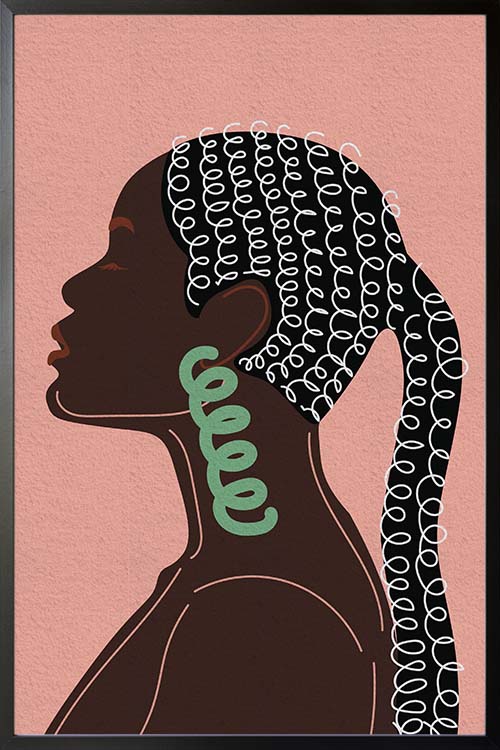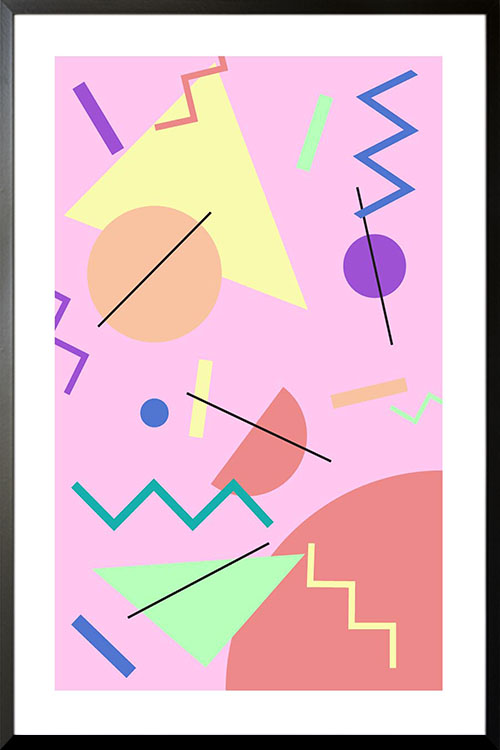
Over the years, geometric patterns have been one of the most popular decorative elements and can be used in any design style and blend with different colors. You can see them almost anywhere: in homes, restaurants, and offices around the globe. Geometric shape designs are eye-catching and can brighten up any space. Read on to know more about geometric shapes and how they can transform any living space into something appealing.
Trendy geometric patterns
Geometric patterns are probably one of the most versatile decorative elements. It can be added to any interior design style. Polyhedrons are some of the famous shapes and can be used in various furniture pieces and their parts. For instance, polyhedrons can be used from table legs to lamps and photo frames. Recently, rhombuses are commonly used in kids’ rooms, floors, and bathroom walls.
With these on the walls, you can also create a wonderful pattern. This can be achieved with the installation of wallpaper, wall murals, or posters. Among these, the display of posters is the easiest and fastest way to create a trendy wall design.
Why use geometric patterns
The versatility of geometric patterns makes them ideal in both classical and modern homes. They can easily be incorporated to create any design style that has been popularized in their respective eras. For instance, geometric patterns are ideal if you want to revive the psychedelic look of the 60s or the digital appearance of today.
Color and shape of geometric patterns
Any color goes well with geometric patterns. The use of bright and cheerful colors like orange, red, yellow, and purple will help create more fun, exciting, and modern vibe. However, warm colors, such as these, must not be overused as they can be an eyesore. In moderation, they can take the center stage and be the focal point of your rooms.
The use of neutral colors like black and white will help create a sophisticated and elegant look. This combination can also help create a minimalist appearance that likewise offers a comfortable and cozy feel.
How to incorporate geometric patterns
Modern decorative shelves come in different shapes, sizes, and materials. Personalize them with a mixture of different shelves to create a room focal point. Geometric shapes can also be incorporated with the installation of partitions and wall panels. These are subtle and understated structures that will not overwhelm your rooms.
Want to be creative and unleash your artistic side? Paint your walls with a variety of colors and geometric shapes. Prepare the materials you need like a roll of masking tape, paintbrush, and paint color of your choice. With these, you will be able to create a crisp and clean pattern that you and your family will love.
Geometric patterns on the floor are likewise eye-catching. Squares, hexagons, and zigzag patterns are cool and you can be creative by arranging them in whatever look you want. Rugs and carpets are likewise great to display geometric patterns. There are geometric rugs and carpets available in the market that can transform the appearance of your walls.
