Tips To Personalize The Baby Room

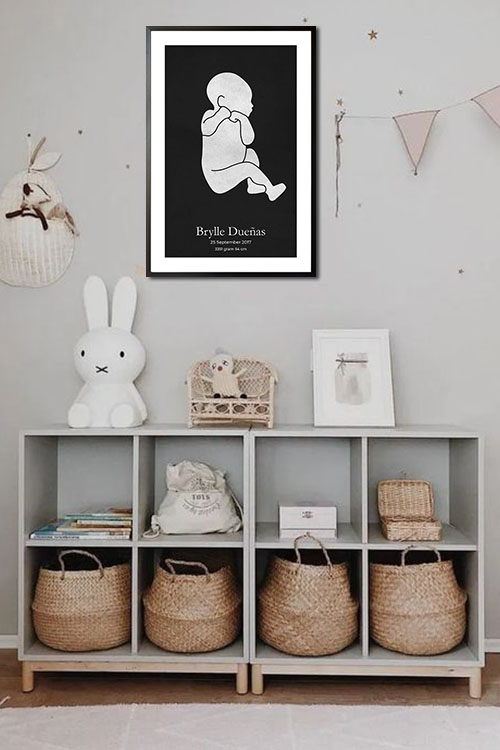
Baby Watercolor reverse personal poster in interior

The birth of your baby is one of the greatest gifts in the world. You have waited for several months and now that your baby has finally arrived, there are a lot of changes that may happen to your life and to the whole family. However, before that, there are some preparations that need to be done. The baby room will soon be the sanctuary of your little. Preparing it before the arrival is crucial so that it becomes comfortable and relaxing. Moreover, the baby room also needs to be multi-functional. Read on to learn a few tips about decorating the baby room.

Choose the right wall color

Choosing the color for the baby room is probably the first thing that comes to your mind. Why not? This is the very first thing that you will see upon entering the room. It is therefore right to prepare the room before the birth of your little one. You may already have an idea about gender so there are different colors to choose from that will personalize the whole baby room. Check out the list below to see if they fit your needs for the baby room:

  • Red is usually associated with passion and aggression. Be careful with using this color when using it in the nursery. Do not paint the entire wall red and do not even make it the principal color of the room. Use it only to accent the wall or use decorative items of this color. 
  • Orange is another warm color. It stimulates communication and friendship. Be careful as well with the use of orange as too much may be too stimulating. 
  • Yellow is a cheerful and sunny color. It provides more energy and contributes to better memory with the lighter hues help in concentrating. Too much yellow may likewise be too agitating for the baby.
  • Green is a neutral color that can be used in any room. It is the color of health and well-being. It is a good choice for the nursery especially if you decide to use lighter and softer shades. 
  • Blue is a cool color that is calming and relaxing. It is a good choice for the nursery and can be used whether you have a boy or a girl. Choose the lighter hues since the dark shades can be too depressing. 
  • White is one of the common choices of parents. It is the color of purity and innocence. It offers calmness but it is recommended to use it in combination with other colors and decors. 
  • Brown is also a good choice for the baby room. It is warm and pleasant and it’s better to combine it with other colors such as blue, beige, and green.

Personalized Baby Posters and Pictures

In many instances, the first thing that comes into your mind when decorating your room is the use of posters. It is one of the easiest ways to decorate the walls and make the room look warm and bright. Before choosing the poster design, you need to take into consideration the theme of the room first. Also, the color scheme is important so that you will be able to pick the right poster design that will blend. Personalized posters of babies come in different appearances and themes. And the choice depends on your existing interior design style.

A neutral theme for the posters is the safest to use as they can easily blend with any design style that the room has. The image can be anything, from animals to the baby’s first photos. Once displayed on the walls, these posters will make wonderful wall art that your family and friends will surely adore. Other themes that you can create in the nursery with the use of posters are nautical, safari, medieval, and cartoons/ 

These days, parents even make the nursery look lovely with family photos arranged in a random layout. A large-sized customized poster of the baby will even make the wall art more interesting and personalized. 

The History of Art Nouveau

Art wall 147

Art Nouveau is a design style that is commonly used in architecture, applied art, and fine art. Its popularity rose in the 1890s until the beginning of World War I. The goal of the design style was to modernize the design and move away from the eclectic historical styles that were popular during that period. In fact, the concept of Art Nouveau originated from the stems and blossoms of plants. Read on to learn more about Art Nouveau and how it all began. 

A brief history of Art Nouveau

Art Nouveau was based on the name of an art gallery in Paris, “Maison de l’Art Nouveau”. The gallery was owned by an art collector, Siegfried Bing. The gallery featured artworks that were created in the Art Nouveau style. Along with modern furniture pieces, tapestries, and other decorative items during the 1900 Exposition Universelle made the place popular that the name of the place was used to denote the design style. 

Simultaneously, Les Vingt and La Libre Esthetique promoted the design style in Belgium. While the magazine, Youth, promoted the design style in Germany. It was an illustrated magazine on art and lifestyle in Munich. 

Though the exact origin of Art Nouveau is not really determined. Many art historians agree that the origin is linked with the English Arts and Crafts Movement. It also has influences from Celtic art to Japonism. The beauty of Art Nouveau is that it can be applied to other disciplines like architecture, interior design, fine arts, glassware, and illustrations

Its worldwide popularity is short-lived, however, because of the rise of the Art Deco movement. It made its comeback in the 1960s. The emergence of Art Nouveau is the response to the traditional design style. The goal was to do away with the traditional ones and modernize the concepts and ideas in the decorative arts. The design style is inspired by the organic and geometric forms, evolving elegant designs that mimic the stems and blossoms of plants. The beauty of Art Nouveau features lines and curves as well as colors and hues. 

Traits of Art Nouveau

Here are some of the traits of Art Nouveau that will make a difference to your homes:

  • The design of the furniture pieces is styled with flowers, leaves, buds, and roots. 
  • Designers have the freedom and flexibility to choose the color as long as they are light.
  • The floor is usually made from hardwood that is stained and varnished with the addition of an oriental or colorful rug. 
  • Tiffany lamps and stained glass windows create the atmosphere. 

Achieve the design style in your home

For homes that employ the design style, it is common to see elongated curves and linear shapes. The style is influenced by nature such as flowers, spider webs, and feathers. Here are some ideas and tips to achieve Art Nouveau interior to your home. 

  • Wall colors – usually the colors of the wall are soft and muted mixed with palettes of gray, mustard, brown, olive, and lilac.
  • Floors – parquet floor or wood finish will achieve the classic appearance, whitewash the floor, or mid-toned wood. 
  • Lighting – Tiffany lamps were the popular ones during the period.
  • Decors – add curved or straight lines which are geared upwards from the ground. Stained glasses can be used with the same design which resembles blossoms of plants. 

A Nostalgic Atmosphere With Retro Poster

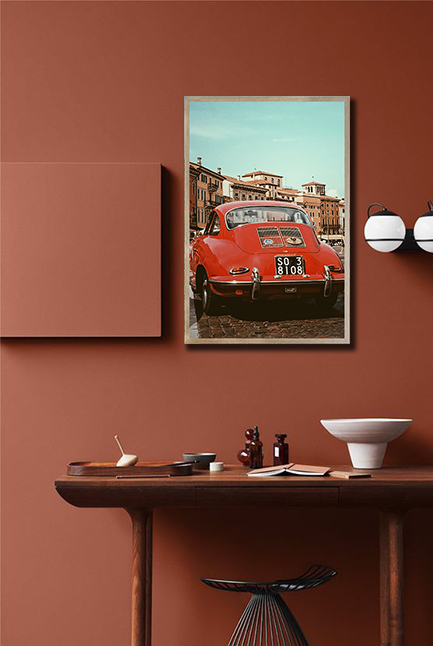
Vintage red volks Poster in interior

Travel back in time with the beauty of retro posters. These posters will not only make a wonderful accent to your walls but will also set a nostalgic vibe. Would it be great to bring back your childhood memories and reminisce the times when you were still doing fun and exciting activities? Retro style covers several decades of styles and it often describes an interior decoration of mixed styles and objects that are influenced by trends and styles from the past. 

The beauty of retro-themed posters

Creating a retro design style in your own home or space is a unique way to bring back the old times. The retro design style has been inspired by the events and activities after World War 2. A time when a lot of people try to spread love, peace, and freedom in any way possible. 

The designs depicting the retro style are usually fun and lively. It is common to see images in bright colors, wild designs, and an overall sense of talent. Retro posters also depict the same ambiance when added to the room. The images featured are loud and funky. 

Retro posters will definitely help you achieve a nostalgic atmosphere. The colors are truly captivating. You will often see images in popular retro colors such as mustard yellow and combinations of brown, black and white, orange and red. Pink and purple are also obvious in retro posters. 

With the addition of these posters on your walls, you will be able to create a cozy and cheering vibe. Remarkably, the room will have a nostalgic and elegant feeling that cannot be matched by other posters. Retro posters are perfect if you want to cherish memories and reminisce the days you spent in your grandma’s home. 

Achieve a retro design style

The retro interior design style is one of the epic styles in the history of design. It marks the end of World War 2 and the beginning of an amazing era in the world of construction and design. Retro design style aims to be nostalgic and elegant. It is a way for people to reminisce their past and embrace their youth with the addition of old and vintage pieces of furniture, cushions, wall art, and fabric. 

Retro posters feature images from different times that can create a wonderful and remarkable timeline throughout history. The objective of retro posters is to create a space that evokes pleasant memories to create a familiar and comfortable environment. 

Feeling psychedelic? The colors and designs of retro posters evoke a special beauty that depicts the lifestyle and activities of many people during the era. Retro posters are simply stimulating and tantalizing. Having these posters in your room will definitely make you travel back in time. A time when fun and excitement never ends. 

Final thoughts

Decorating your home is a great project to do with your loved ones. In fact, there are various styles to choose from. If you are looking for an interesting way to combine the past with the present, a retro design style will surely do the trick. This style can easily be achieved with posters along with other decorative items the represents both the past and the present. 

How To Make Your Room Appear Bigger With Art

Decorating your home and making it look impressive is one of the fun and exciting activities that you can do with your family and friends. It is a project that must be done to level it up in terms of aesthetics and function. There is no reason for stopping you when you have this in mind. In addition to making your home look beautiful, try to make it look bigger. This can be done without doing any serious renovation. In fact, different art can easily help you achieve the appearance that you have been looking for. 

Understand your space

Before you use artwork to make your home look bigger, you should understand first the space in your home. There are different factors that you need to consider. The height of the ceiling, for instance, is a vital part of the house that needs to be looked into. If you have a low ceiling, this could appear higher by placing a tall lamp with artistic shades. This will create an effect of having a larger room

Other factors that are considered vital are the color of the wall, room lighting, the amount of furniture and other accessories, and the layout and placement of furniture. The color that is used to paint the walls plays an important role in making the room look bigger. Therefore, before choosing the color, there are some pointers that you need to know. Dark colors, tend to absorb light, while bright colors open up the space. 

Lighting

Natural light in the room is the best way to make your home look bigger. Small rooms tend to have a lot of dark corners. Allowing natural light in your home can make everything brighter. As a result, the display of stylish art will make wonderful wall art. 

Furniture layout

Any art will not matter in making your home look bigger if you have cramped rooms because of your furniture pieces. It is crucial that you declutter first. Dispose of anything that you do not use any longer. If there are items that you want to stay in, be sure to organize them so that the center of the room is open. 

Use art to decorate your walls

Having art in your rooms does not only make them beautiful. It is a fact that the design of the art can make your home look bigger. Choose artwork that has bright colors and can make a contrast to the other decors. A tall artwork can make a feeling that the ceiling is higher. Make some space around the painting to highlight it. 

Use wallpaper and posters

It is tasky to install wallpaper. It is also even more difficult to remove them. If you decide to use this wall covering, try to be creative by taping them on the entire side of the wall. You can choose wallpaper s with artistic details. The addition of posters can also visually increase the size of your rooms. Especially with natural light.

Posters come in different designs and they surely do the job of making any space look bigger. With minimalist-themed art, you can create an illusion of having more space. Moreover, you can use posters to personalize your rooms. Other themes that can make the room look bigger are nature-inspired, black and white, and abstract. 

Budget-friendly Ways To Frame Your Posters

Many of us love posters as they can easily make any wall look fantastic. Sometimes they remind us of our teenage years when we were decorating our rooms with posters of our favorite bands. These days, there are thousands of designs and themes available. From abstract art to personalized designs, these posters can help you achieve the desired effects in your rooms. What makes it more interesting is that the addition of posters can add beauty to the poster design. If you are worried that frames will be an added cost, then there are budget-friendly ways to frame your prints. Read on to learn more about cost-efficient ways to frame posters.

Decide if you will mat your poster

We will assume that you already have your poster collection and are now planning to frame them. But before buying posters, decide first if you are going to add a mat. This is one of the factors that will determine the size of the frame you need. 

There are posters that are not of standard size. As such, they will not fit any generic-sized frame without a mat. Others would tend to cut the poster to fit the frame which is not supposed to be the case. Of course, matting would add to the cost therefore it is better if you buy a poster that will fit a generic-sized frame. 

Where to buy frames

For a more impressive result, buy your frames at craft shops. Many shops offer discounts that will help save enough cash you can use in other projects. Local stores also have different choices to offer that will best fit your prints. Some are sold in kits with included instructions on how to install them on your posters. That would be cheaper than having a professional do it for you. Although, professionals do framing the right way. 

Keep it simple

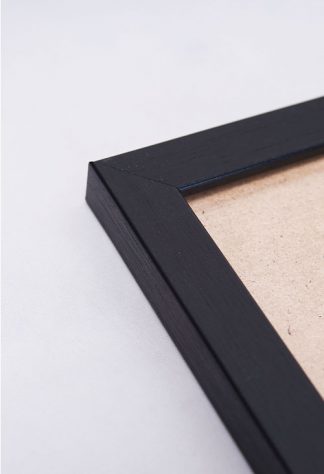
Choose frames that are simple to highlight the poster design. Extravagant-looking posters may tend to mask the beauty of the poster. Keep it simple by using a neutral-colored frame such as black or white. The white mat also highlights the art. 

Simple steps to frame a poster

Now that you already have a frame and mat, it is time to put them together. In fact, this is the easy part, and that the challenge is with the decision-making process. In Artdesign, we offer a complete set to complete your decorating experience. Here are the basic steps of framing your posters.

  1. Upon unboxing, carefully remove the frame and artwork from the box.
  2. Bend all the frame fittings.
  3. Remove the cover of the frame located at the back.
  4. Lift the acrylic glass from the frame.
  5. Pel the acrylic protective paper on both sides of the glass. Do this carefully so as not to accidentally break the glass. 
  6. Return the acrylic glass carefully to the frame. 
  7. Place the artwork on the frame and smoothen out any wrinkles. 
  8. Replace the back cover of the frame.
  9. Secure the back cover by bending all the fittings.
  10. Screw the hook on the frame and you are all set up to mount it on your wall.

Hanging your poster

There are various ways to display a framed poster. Moreover, there are some factors to consider for you to be able to hang them properly. Examples are the size and weight of the picture as well as the type of wall and hanger on the frame.

The size and weight are important factors as these will determine the right hook to use. Small art needs only a small hook, nail, or stick-on hook. Large and heavy art may require an anchor hook or more than one hook or nail.

Drywalls only need a nail. However, for heavier pictures or posters, you could use a Monkey Hook. Plaster walls, on the other hand, need a hook that is made for plaster. Another option is to use a stick-on hook or nail. Another factor to consider is the back of your frame. The hook should match the type of hanger that is attached.  

Personalizing Your Home With Family Photos

Art wall 133

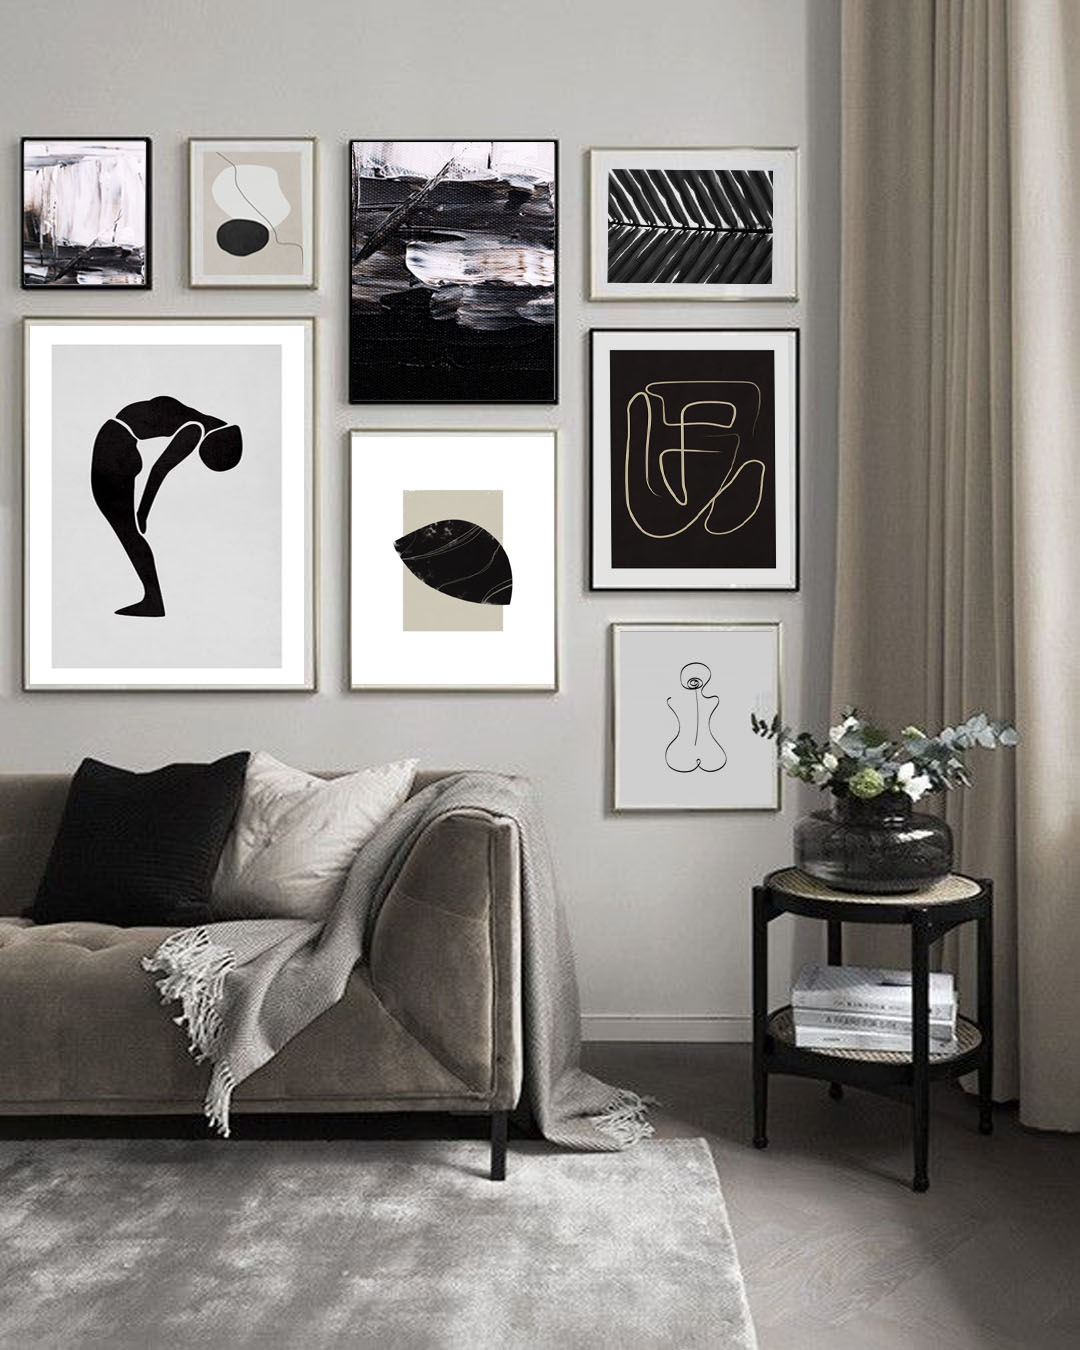
One of the spectacular ways to personalize your home is by displaying family photos. This may be quite easy but when done in the wrong way, you will be creating an eyesore instead of a compelling focal point. So, instead of keeping the photos in an album, try to unleash your creativity by creating a wall gallery for your family photos. 

Time to organize your pictures

Sometimes, family photos are just scattered in the bedroom. Gather them all, even those that are already displayed, and group them in one area. The area can either be a gallery wall, bookshelves, or photo ledges. As such, you will be creating a fantastic focal point instead of having them scattered around the room. The chaotic appearance of the photos can now be organized with a great result. 

Choose the right picture frames

The appearance of the focal point or photo gallery greatly depends on how well they are framed and displayed. Small frames do not look that appealing. Replace them with larger ones and it is better to use the same frame for all family photos. This will be of great help to highlight the photos displayed on the walls. Large mats will likewise highlight the photos.

A feature wall instead of scattered photos

Avoid having more than two areas in a room with daily photos displayed. For instance, if you already have a feature wall with a gallery of family photos, you can still add another area for the photos to be displayed. Examples are the nightstand or console table. Choose the right area in the room to display family photos. Do not overpower the whole room appearance with too many areas displayed with photos.

Family photos in grids

A collection of family photos in a grid of frames with mats will top it all. This arrangement is perfect for big walls. It is also important to choose the right frame to highlight the display. Extra-large mats can also highlight the photos, making them instantly noticeable once a guest enters your home. 

A kitchen gallery

The display of family photos is not confined in the living room alone. Be creative and unique by creating a wall gallery in the kitchen. Pick a spot where the photos can give your wall a fantastic appearance making the room look more perfect. 

Decorating the hallway with a photo gallery

The hallway may have multiple purposes. Decorating the wall with a photo gallery will make the necessary transformation. Impress your friends by creating a gallery of special memories. With the use of warm wood frames and clean white mats, you will have a wall that will look timeless, especially if the photos are in black and white

Fun-filled dining room with wall gallery

What’s the best way to entertain your guests while dining? Of course a wall with framed photos. This wall design will not only add life to the room. It will also serve as a conversation starter as the photos can give a nostalgic vibe. The layout can be anything as long as they do not overwhelm the room. 

Pop Art And How It All Began

Monroe Lines Iconic poster

Pop Art or popular art started in Britain and the United States in the mid-1950s. It was actually a movement that challenged the traditions of fine art that includes images from advertising and news. The term Pop Art was first used during the discussions among artists, known as the Independent Group. The movement embraced popular culture or what is also called the “material culture”. The artists during that period responded to the need for clever advertising and building more forms of mass communication. 

The movement

The movement was established by the British art critic, Lawrence Alloway in an article, “The Arts and Mass Media”, that was published in 1958. Some textbooks also point to the collage of Richard Hamilton, “Just What Is It Makes Today’s Home So Different and So Appealing?” in 1956 signaled the arrival of Pop Art. The collage was shown in the show, This Is Tomorrow at Whitechapel Art Gallery in 1956. This marks the official beginning of the movement. 

Pop Art completed the Modernism movement in the early 1970s. I also ended the said movement with its investment in anything contemporary. 

Characteristics of Pop Art

Here are the key characteristics of Pop Art that you will find in many arts these days:

  • Familiar images and many are drawn from popular media and products.
  • Images have very bright colors
  • Flat imagery is influenced by comic books and newspaper photographs.
  • The presence of images of celebrities or fictional characters in comic books, advertisements, and fan magazines.
  • The innovative use of media in sculptures. 

The development

Long before the establishment of the movement, there already has been an integration between fine art and popular culture. In 1855, French realist painter Gustave Courbet symbolically pandered to popular taste by including a pose taken from the print series, Imagerie d’Epinal. It featured brightly painted scenes that were invented by Jean Charles Pellerin, a French illustrator. This strategy was also employed by the Spanish artist, Pablo Picasso. 

Marcel Duchamp, the pioneer of Dada pushed Picasso’s consumerism by introducing the actual mass-produced object into the exhibition. These were the bottle rack, a snow shovel, an upside-down urinal, and these were called the Ready-Mades. 

The American Pop Art

One of the key personalities in American Pop Art was Andy Warhol. He understood shopping as well as the allure of celebrity. Along with Post-World War 2 obsessions drove the economy of the country. He has captured the authentic beauty of America and is known as one of the best-known artists associated with the movement. Some of his popular works were the images of Mick Jagger, Marilyn Monroe, and Campbell’s Soup cans. These images have been popular household images and they were reprinted on shirts, posters, and mugs. 

American Pop Art evolved to try reversing the elitist and abstract trend. This was achieved with the introduction of images as a structural device in painting. Some of the popular names in American Pop Art are Roy Lichtenstein, Andy Warhol, Robert Indiana, George Brecht, Billy al Bengston, John Wesley, Jess Collins, and Richard Pettibone. 

Framing A Poster

Artdesign frames

The display of posters is one of the fun and exciting ways to express ourselves, add a personal style to our rooms, and bring to life any room in our homes. Gone are the days that we simply display the art or any photos on the walls. Sometimes we even use corkboards to pin these memorabilia. These days, the use of frames does not only protect your art, posters, or photos. They can also add beauty to the wall decor that will level up the overall appearance of your walls. 

Local framing store

The quickest and easiest way to frame a poster is to bring it to a local framing store. However, this may be a little expensive and greatly depends on the type and size of the frame. The only disadvantage is that these stores may have a limited selection of suitable frames to choose from. Some stores may also offer you frames that are of not good quality and may cause problems in the future. 

Frame it yourself

If you are worried that you may commit a mistake in framing your posters, there are different references on how to do it correctly. The internet is one of the best sources that we have these days and practically everything can be found on various websites. 

Choosing the right frame is quite a challenge at first. But come to think of it, there are simple ways to determine the most suitable frame for your needs. You need to consider two aspects of your poster. Is the poster black and white or colored? You also need to consider the dimension of the poster. If the poster is black and white, a neutral frame is highly recommended to highlight the image. If the poster is in vibrant colors, choose a frame with a color that is also featured in the poster. 

How to frame a poster

  1. To use or not to use a mat. The mat can add beauty to your posters as it provides an extra border, providing a space between the poster and the frame. Mats can also adjust the size of the poster.
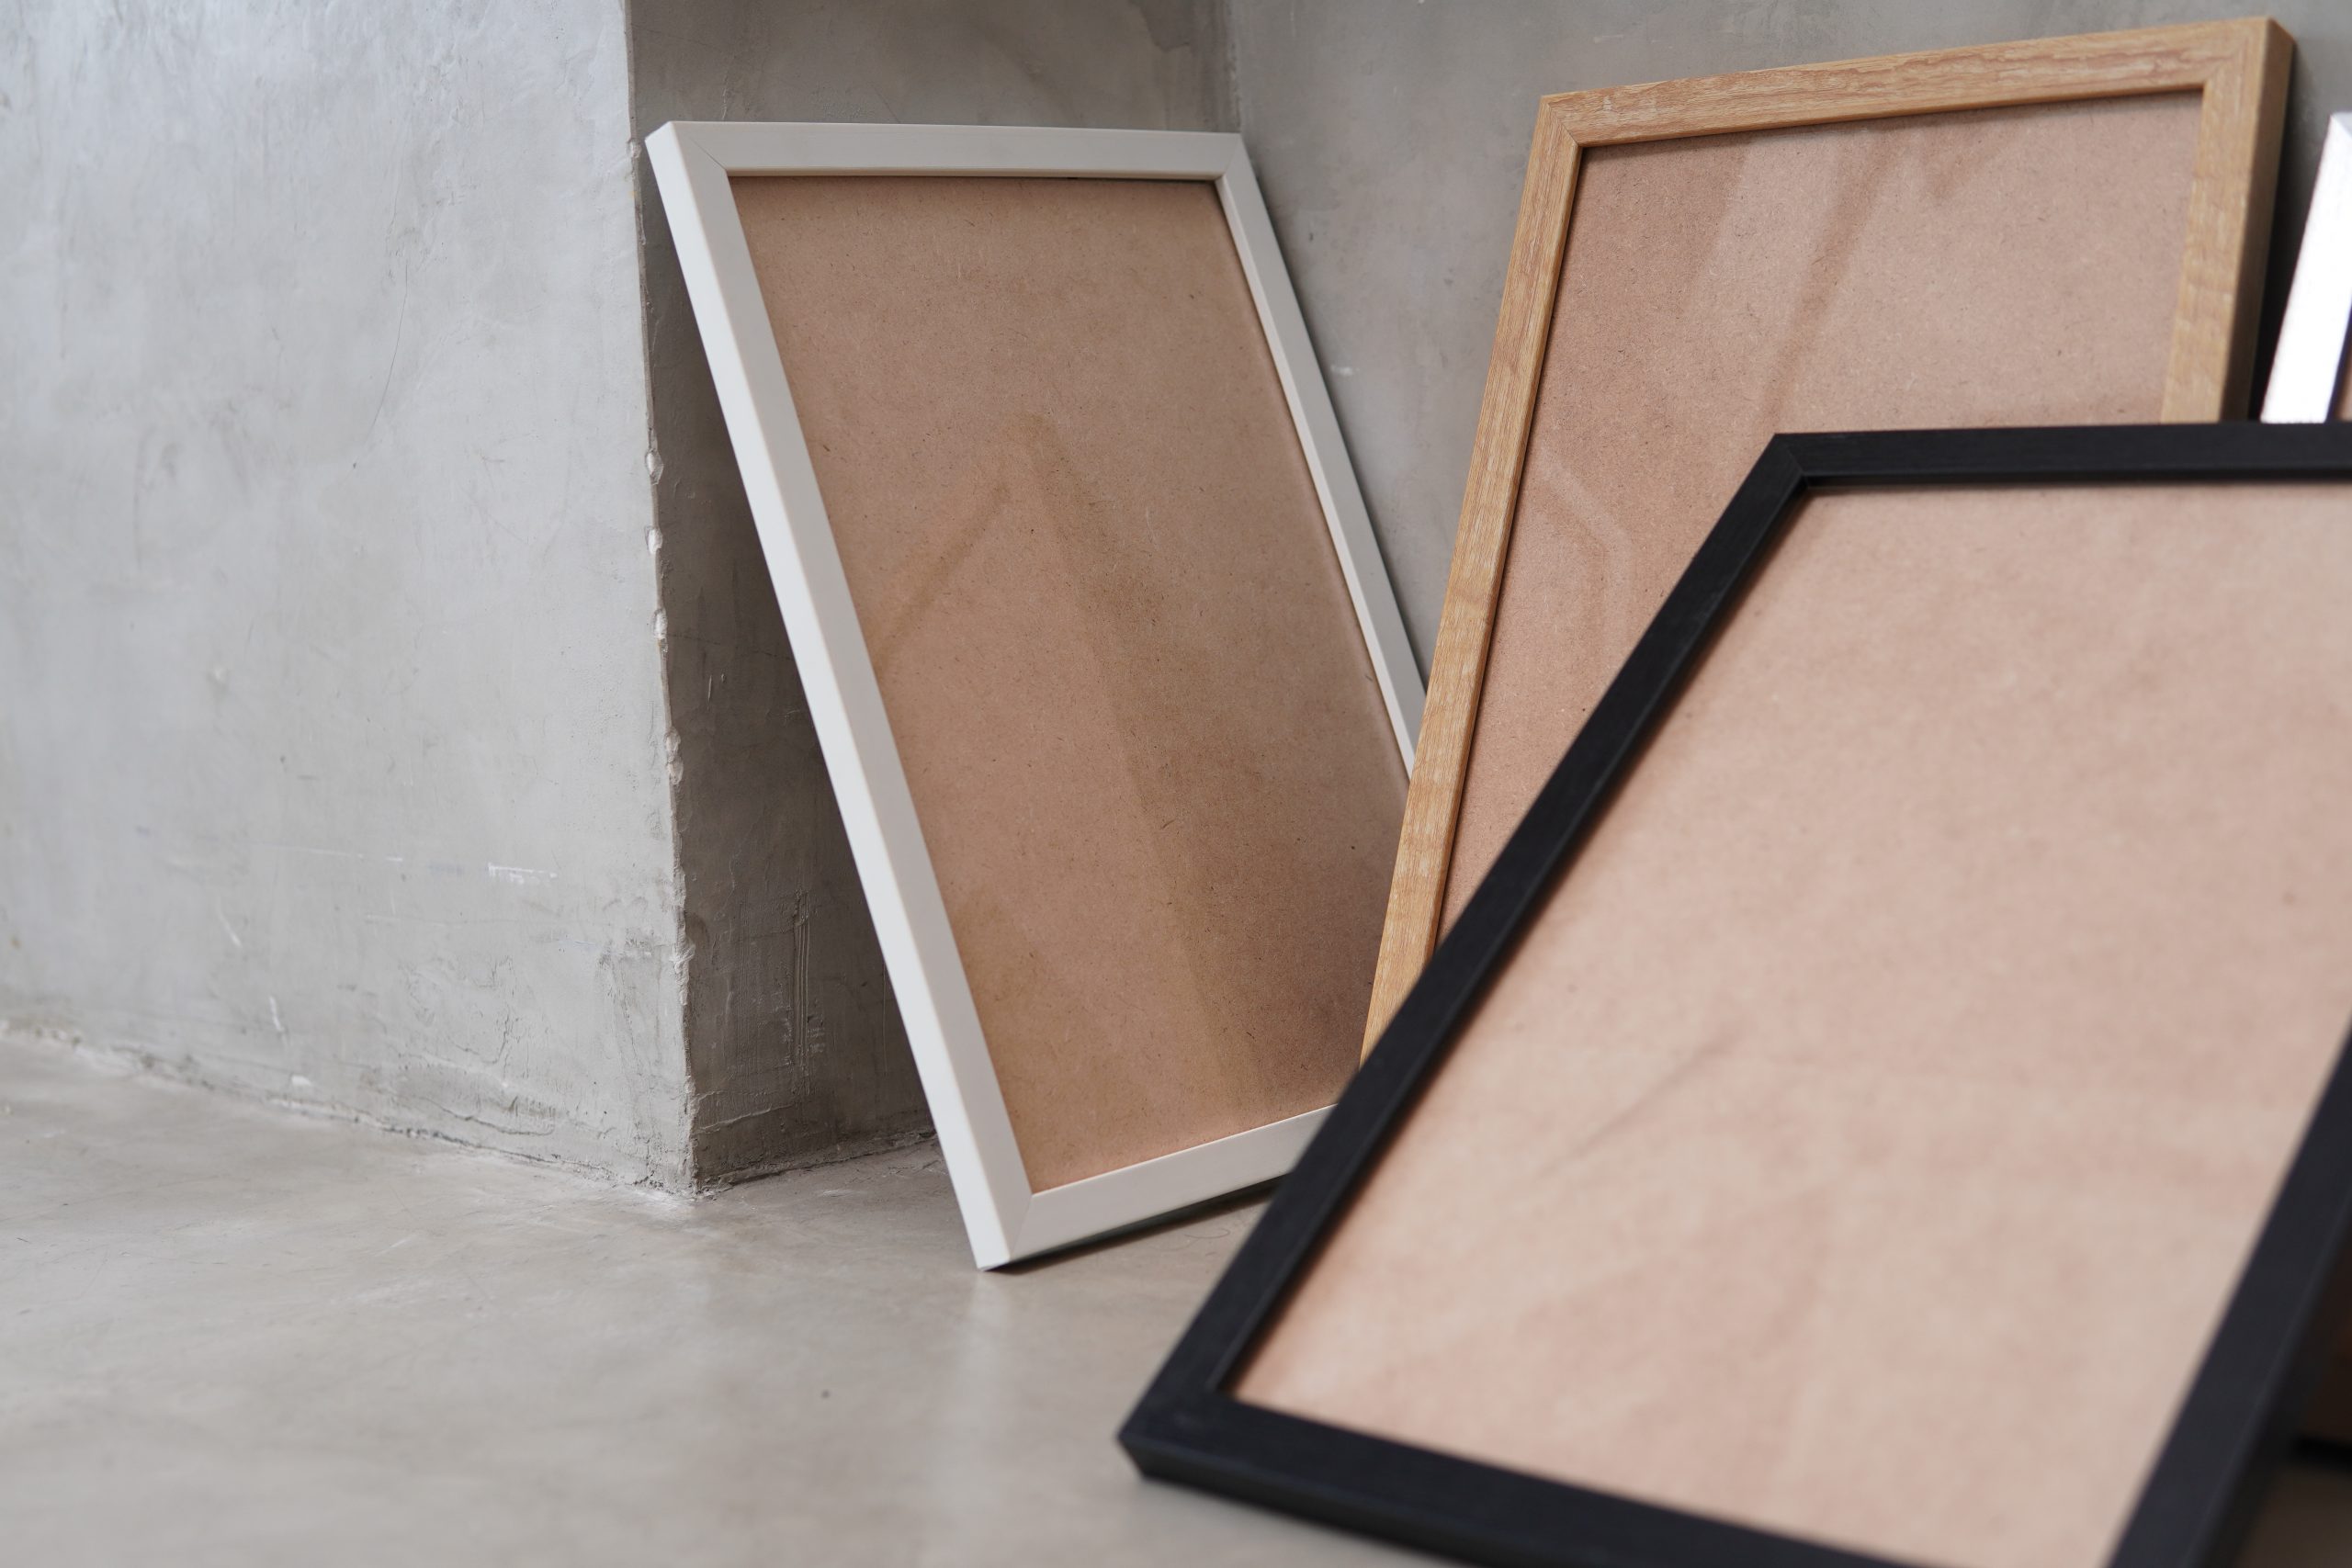
  2. The right frame to use. There are different types of frames to use. The materials also vary from plastic to high-quality metal or wood. These frames can add beauty to your poster and likewise protect them especially those that are considered to be collector’s editions. 
  3. Clean the glass or plexiglass.
  4. Attach the poster to an adhesive foam board.
  5. Slide the glass back into its place in the frame.
  6. Fit the mat into the frame.
  7. Gently slide the poster or foam board into the frame behind the mat.
  8. If there is a need for a poster backing, then add it to the assembly. This protects the art against dust and dents. 
  9. Attach the hanging mechanism. 

The perfect frame for your poster

Finding the right frame for your poster and framing it is not that difficult as many people think. Many shops sell posters in the form of a kit. There are instructions included to guide you in properly adding the frame. In Artdesign, we have simple yet appealing frames that will add beauty to any poster design that you choose. Choose the right frame and beautify your walls.

Personalize Your Home With Zodiac Prints

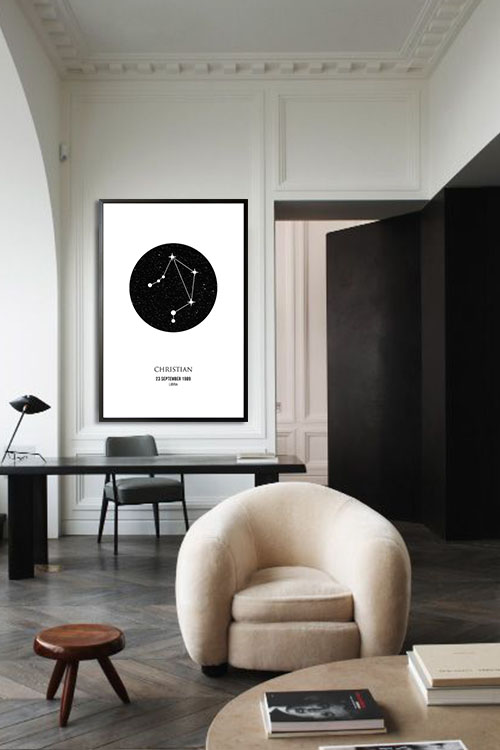
Personalized Zodiac Libra poster in interior

We all dream of having a room that gives us good vibes. In addition to a comfortable and cozy interior, we need a room that reflects our personality. One of the best ways to achieve this is with the use of zodiac prints. Read on to know more about the different zodiac signs and how they make your room more personal and look more fantastic. 

Decorating with zodiac signs

Personalizing your rooms can be done in different ways. Stunning zodiac posters can easily make your rooms look amazing. Moreover, these posters can personalize your rooms as each sign represent who you are. What makes the zodiac prints even more interesting is that they can be given to your loved ones as presents. There are times that looking for the right gift may be difficult and confusing. Make it easier for you and choose the poster that features the zodiac sign of your loved ones. These prints can be displayed in any room and can evoke a minimalist appearance that will be adored by anyone. 

Aries

Those who were born under the Aries sign are passionate and full of energy. They are also not intimidating. They are also attracted to the shades of red however, do not overuse red in the room as it can make you restless. Red can be paired with neutral colors such as black, white, and gray. 

Taurus

Taurus individuals are known to be calm, goal-oriented, and love working with their hands. They also love earthy things such as leafy plants and succulents. They are also fond of decorating their interior with greens and blues along with storage spaces for their personal belongings. It is also recommended to add a few picture frames and photos to personalize the rooms. This is because Taurus individuals are loyal and loving friends. 

Gemini

They are popular and loved individuals such that their room can be decorated and designed to be hangouts for their family and friends. Photos of your family and friends are recommended to decorate the walls. They are also calm and cool. As such, their rooms must include shades of light blue and white.

Cancer

For people who were born under the Cancer zodiac sign, their rooms are considered to be their sanctuary. They also enjoy simple things in life and without complications. The ambiance of the room should likewise be cozy and comfortable and decorated with silver or silver-colored items. 

Leo

These people are known for their jolly and outgoing personalities. Decorate your room with a personal inspirational board along with gold accents and glitter decals. The walls must also be in plain white with bright pieces to match the personality. 

Virgo

They are known for being ambitious, determined, and successful. It is also known that people who were born under this sign need a space where they can focus without any distractions. Thus, their rooms need to be organized and clean. It is also best to use cool colors such as forest green and shades of blue for more fun and interesting room atmosphere.

Libra

Strive to achieve balance in the room with art and beauty. Their rooms are filled with personal valuable items with accents. The following colors also look best in the room: shades of blue, green, and white. 

Scorpio

People who were born under Scorpio are known to be intense and driven in life. Typography and motivational prints are usually seen on the walls to keep them moving forward. The walls of their rooms are recommended to have white with gray colors along with light pink accents. 

Sagittarius

Sagittarius is known for their go-getter attitude. They also have cheerful and friendly personalities with a strong urge to travel around the world. Their rooms must likewise have the colors dark purple bright pink, black, and dark blues. 


Trendy Wall Coverings

Art wall 154

In many houses, the walls get the usual covering such as flat, eggshell, or semi-gloss interior paint. The good thing about this is that you can never go wrong with coating the walls with interior paint. However, there are other wall coverings that can be used to make your walls appealing and exciting. A great wall covering can likewise be the focal point of the house. Some of these wallcoverings are highly textured and not recommended to cover the whole house with it since it will produce visual overload. Try using highly textured wall coverings on an accent wall instead of multiple walls to have an interesting wall decoration. 

Wood Wainscot

Conventionally, this is an area of wooden paneling on the lower part of the walls of a room. This is often wood beadboard and can be commonly seen painted in white. White wainscot projects a retro appearance of a summer cottage. The reality is that you do not have to confine yourself with white. You can paint it in an array of colors. Wainscot is also readily available and inexpensive. You can get them from the local lumberyard or home improvement store. There are basically two main forms of wood wainscot: Tongue-and-groove plywood beadboard paneling that still requires cutting and priming; MDF panels that are exclusively made for wainscot, and is already primed and ready for painting.

Tile Wainscot

Commonly, a wainscot is made of wood. Tile can also be used in wainscoting and is ideal in the bathroom. Joining tile to tile creates a perfect water-sealed seam. This will also look good in other rooms aside from the bathroom, as long as they will look appropriate.

Floor-to-ceiling tile

Cover the wall with tiles from the floor way up to the ceiling to create a modern look for your interior wall. However, choose the appropriate wall to lay the tiles on as this will cause visual overload if multiple walls are tiled.

Modern wallpaper

This type of wallpaper can provide a sophisticated and glamorous appearance. The design can provide a fresh and trendy look. Commonly, simple patterns and colors can provide a bold and clean look. Geometric figures, textures, floral, and more futuristic designs can give a modern wall appearance that will be loved by many homeowners.

Manufactured Stone Veneer

Man-made stone veneer is composed of Portland cement, aggregates, and iron oxides. Just like natural stones, manufactured stone veneer also has the same weight and durability.

Faux stone veneer

This is usually made of styrofoam that looks like a real stone. The drawback is that faux stone veneer can dent easily therefore these should be installed in areas where physical contact is not that much.

Wood wall panels

Today, wood paneling is one of the popular wall covering designs available that looks great on the wall interior. These panels are usually made from rosewood, oak, ebony, teak, and other exotic woods. The size is small and they are usually mounted horizontally.

Mosaic tiles made of bamboo

If you are looking for a wall covering that is fresh and modern, then the bamboo mosaic tile is a perfect choice. The food thing about bamboo is that they are sustainable as it can be grown easily. So no need to worry about waiting for a long period of time to have a full-grown plant. Bamboo tiles are ideal indoors and try not to install them in the bathroom.

Mosaic tiles made of cork

These are tiny round tiles made of cork and are bound together on mesh mats for easy installation. These are ideal for wall sections or for backsplashes.

Removable wallpaper

Unlike conventional wallpaper, this type of wallpaper can be removed with no special tools needed. Ideal for apartment living where you can just remove them without the fuss when the time comes that you decided to leave the apartment.